
How it works
Level in one shot
Most wall mounts ask you to measure twice and pray. Ours indexes off a machined levelling dial so the first hole is the right hole.
- 01
Find the stud
Mark your height and locate framing.
- 02
Drill
Pilot hole for back plate.
- 03
Afix backplate
Use pan-head screws. Do NOT over tighten.
- 04
Snap and secure
Position front, snap in place, tighten with enclosed screws and driver.
- 05
Adjust mount using the dial
Level with millimeter precision.
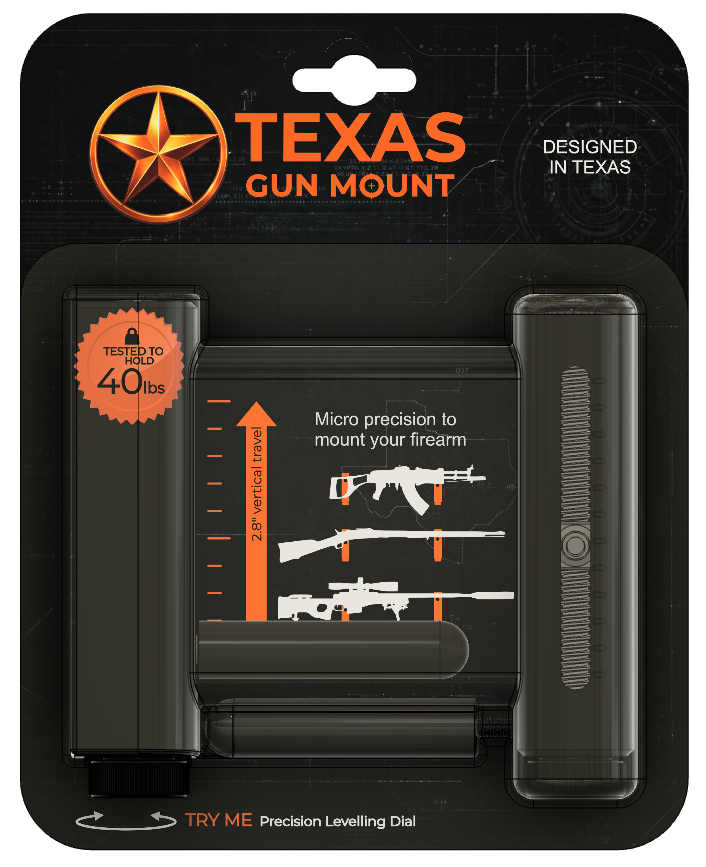
Specifications
Molded, assembled, tested
- Material
- Glass-filled nylon and heavy-duty molded plastics
- Load rating
- 40 lbs tested
- Hardware
- One allen key, two pan head screws, four set screws plus two spare, and paper instructions
- Fit
- Guitars, racquets, tools and other wall-hung gear
- Finish
- Matte black
- Install time
- Under 10 minutes with a cordless drill